Skip to content


Step-by-Step Guide: How to Fix Creaky Floorboards
Creaky floorboards can turn a quiet home into a squeaky nightmare. But don’t worry, Fix-A-Floor can help. Call us the creak-busters, because we’ve put together this step-by-step guide on how to stop floorboards from creaking.
Keep reading for:
- Why do floorboards creak?
- Professional guidance on how to fix creaky floors
- How to reinforce floorboards, lubricate joists and fasten loose boards
Understanding creaky floorboards
Understanding different types of flooring and how they affect creaks
The puzzle of why floorboards squeak when walked on can be partially down to the materials involved.
- Hardwood floors - often creak due to wood shrinkage or loose screws
- Laminate flooring - may creak if the underlayment shifts or wasn’t installed correctly
- Carpeted floors - can develop a creaky floorboard when the subfloor or joists loosen
- Vinyl flooring - can make noise if the adhesive weakens
he causes of creaky floorboards can vary depending on the flooring material, age and usage. Our specialised Fix-A-Floor adhesive works on all these materials, offering an affordable, DIY solution.
Causes of creaky floorboard repair
Why do floorboards creak? Before we look at how to fix a creaky floor, let’s examine what causes it to squeak in the first place. The main factors that cause issues are:
- Your home and floor’s age: The older your home and floor are, the more likely creaky floorboards are to occur
- Humidity: Frequent changes in humidity and temperature can cause floors to warp and shift
-
Subfloor issues: Movements in your subfloor can cause floorboards to start creaking above

Step-by-step solutions to stop floorboards creaking
Identifying the creaky floorboard areas
Some of the most common places for creaky floorboards are areas with high foot traffic and where furniture is placed or has been moved. Walk around your home and listen carefully for creaky spots. It helps to have someone else walk with you to pinpoint troubled areas more quickly.
Tighten loose screws
Tools:
Screwdriver – flat head or cross head depending on your screws
Method:
- Identify which floorboards are creaking
- Check the screws securing the squeaky boards are tight
- Tighten any loose screws
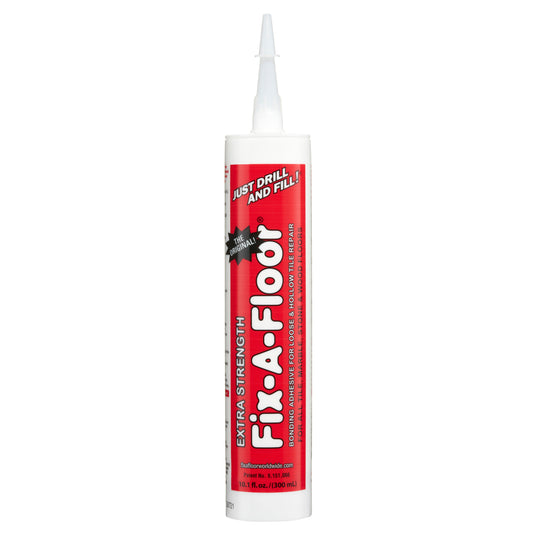
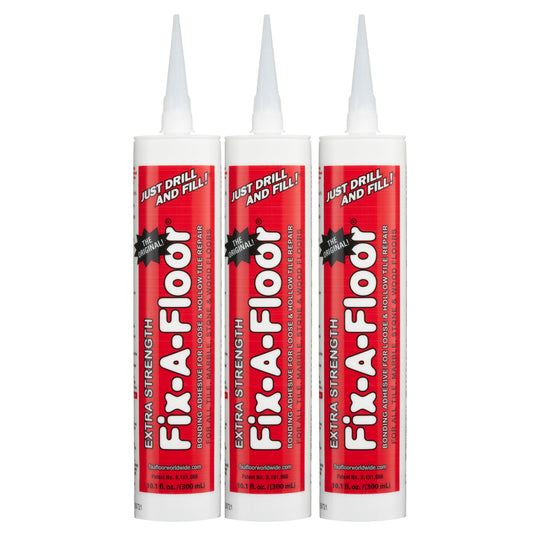
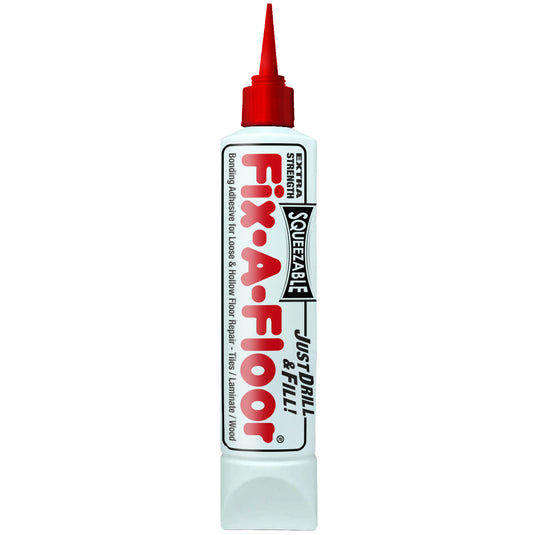
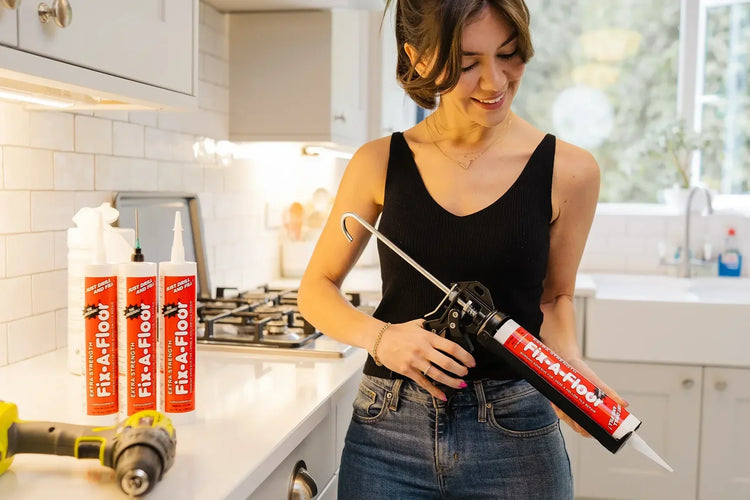
Use Fix-A-Floor adhesive
Tools:
- Drill
- Fix-A-Floor adhesive
- Damp cloth
- Weight (e.g. partially filled water bucket)
- Colour-matched paint and a brush
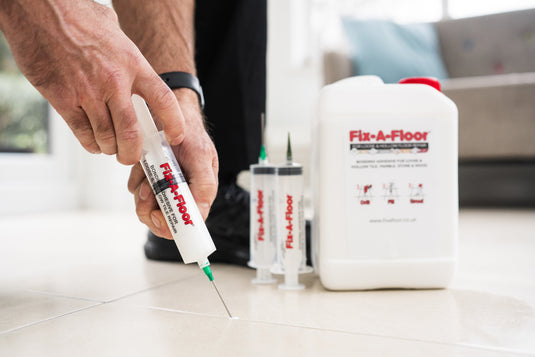
Method:
- Find your creaky floorboards
- Drill holes into the affected boards
- Insert Fix-A-Floor adhesive until it begins to come back out of the holes
- Wipe away any excess using the damp cloth
- Weigh the board down and let the adhesive cure for 24 hours
- Optional - Paint any spots of clear adhesive with a paint shade matched to your floorboards
Fix-A-Floor is by far the most effective, non-invasive and least messy method, providing a long-lasting solution first time – no fuss, no wasted time.
Lubricate floor joists without subfloor access
Tools:
- Powdered graphite
- Brush
Method:
- Locate the creaky boards
- Pour graphite powder into the gaps around the boards
- Brush any excess into the gaps
- Add support using shims
Tools:
- Shims – can be purpose bought or offcuts of wood or plastic
- Wood glue
- Rubber mallet
- Torch
Method:
- Spot the problem boards
- Use your torch to look for gaps between noisy boards as well as gaps between the boards and the subfloor
- Apply wood glue to a suitably sized shim
Insert it into the gap and gently hammer into place if necessary - Leave to dry for the recommended amount of time
You can check out our detailed guide on how to use the Fix-A-Floor adhesive.

Common mistakes to avoid when fixing creaky floorboards
There are a few common errors to be made when trying to fix creaky floors:
- Skipping inspection – work out the problem areas first
- Over-tightening screws – over-tightening can worsen squeaks and strip screw heads
- Using incorrect adhesive or tools – get the right tools and use Fix-A-Floor adhesive
-
Ignoring subfloor issues – some issues, like damp in the subfloor, can’t be ignored
DIY vs. professional repair: When to call a professional for squeaky floorboards repair
In most cases, DIY solutions like Fix-A-Floor are perfectly sufficient to fix creaky floors. Fix-A-Floor works by permanently filling the gaps between your subfloor and your boards, offering a lasting solution you can implement with minimal tools.
However, if you have recurring issues or more severe underlying problems such as damp, then it’s best to contact a professional. Leaving these unattended could lead to structural concerns.
Long-term maintenance tips to prevent future squeaks
To help avoid floorboards creaking in the first place, there are a few simple steps you can take:
- Check the subfloor every six months – if you can, check your subfloor at regular intervals to look for signs of warping or damage
- Monitor humidity – keep humidity levels consistent and avoid damp buildup
- Use proper underlay – make sure floors have sufficient underlayment
Fix creaky floors: a summary
We’ve run through a few easy DIY methods for combatting squeaky floors - here are the quick versions to help you remember:
- Tighten loose screws – use a screwdriver to tighten any loose screws on problem boards
- Fix-A-Floor – drill holes in noisy boards, fill with Fix-A-Floor, wipe away the excess and let it dry
- Lubricate floor joists – pour powdered graphite into the gaps around squeaky boards
- Support with shims – find gaps using a torch, apply adhesive to shims and insert them into the gaps
If you’re looking for the best solution, choose Fix-A-Floor adhesive – it’s easy to use, permanent and safe for all flooring types, including wood, tiles and underfloor heating.
The easiest solution for floorboard repair with Fix-A-Floor
Fix-A-Floor adhesive is the simplest, longest-lasting and effective way to fix creaky floors. Just drill and fill! For tiled floors, check out the Fix-A-Floor tile repair kit. It’s ideal for restoration work, fixing loose, creaky and hollow floor tiles and features all the tools you’ll ever need.
Get in touch with us for any enquiries about our products. We’d be more than happy to give you advice on the best methods for fixing squeaky floorboards and more.
Fix-A-Floor Repair Products
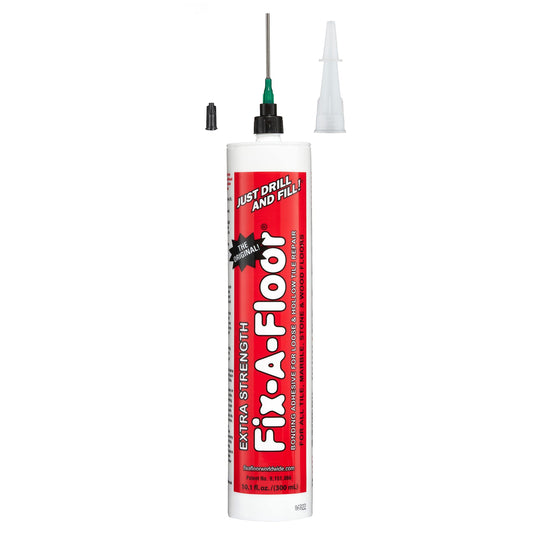
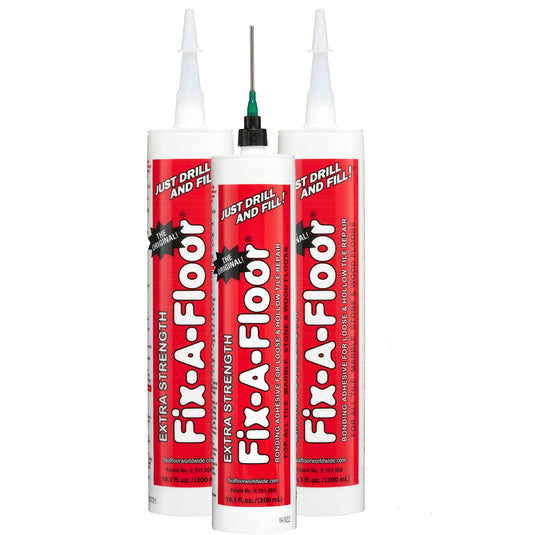
1. Micro Precision Injector Kit
2. Extra Strength Bonding Adhesive for Loose and Hollow Tile Repair
3. Caulking Gun
FAQs:
How do I know if my floorboards need to be repaired?
The typical signs your floor needs repair, include creaking, squeaking and other noises, any sinking or looseness when stepping on certain floorboards as well as new or growing gaps between boards. With any of these problems, you can solve them with Fix-A-Floor.
How long does it take for Fix-A-Floor adhesive to cure completely?
Depending on your home’s temperature and humidity, the curing time can vary between 24 and 48 hours. We usually recommend a minimum curing period of 24 hours.
Will Fix-A-Floor adhesive leave a visible residue on my floorboards?
Our adhesive has been specifically designed to dry clear, leaving no residue once cured. If you get any excess adhesive on your floorboards, simply wipe away with a damp cloth before it dries or use our odourless and non-hazardous residue remover to easily remove dried adhesive.
Can I walk on the repaired floorboards immediately after using Fix-A-Floor products?
No. You must wait for the adhesive to fully cure before walking on your floorboards, otherwise, you will displace the floorboard and potentially make the issue worse. Once fully cured, you can check your repaired floorboard by walking on it.
Do I need any special tools to use Fix-A-Floor products?
No. We sell all the equipment you need to use our products. Check out our squeaky floor repair kits, which come with everything you need in one affordable bundle.
How long will the repaired floorboards last after using Fix-A-Floor products?
Fix-A-Floor provides a long-lasting, often permanent solution to creaky floorboards.
Can Fix-A-Floor products be used to repair a creaky floorboard in high-moisture areas such as kitchens and bathrooms?
Yes. Fix-A-Floor works in all kinds of environments and flooring types. However, high-humidity environments may extend the curing time.
Is Fix-A-Floor adhesive easy to remove if needed in the future?
If you need to remove the adhesive or are replacing your flooring, the Fix-A-Floor adhesive is very easy to remove. Our residue remover is a great option for easy removal.
Do Fix-A-Floor products come with a warranty?
All our products are covered by a manufacturer’s warranty against flawed workmanship and materials. For more information on our warranty, see section eight – Faulty Items – in our terms and conditions.